Step-by-Step Installation Process
The first step in the air duct installation process involves planning the layout of the ducts within your space. It’s essential to consider the airflow requirements for each room. Measure the areas accurately to determine the size and length of the ducts needed. Create a diagram to visualize the layout, ensuring that you account for any obstacles such as walls or furniture that might impede airflow. This careful planning will help streamline the installation once you begin.
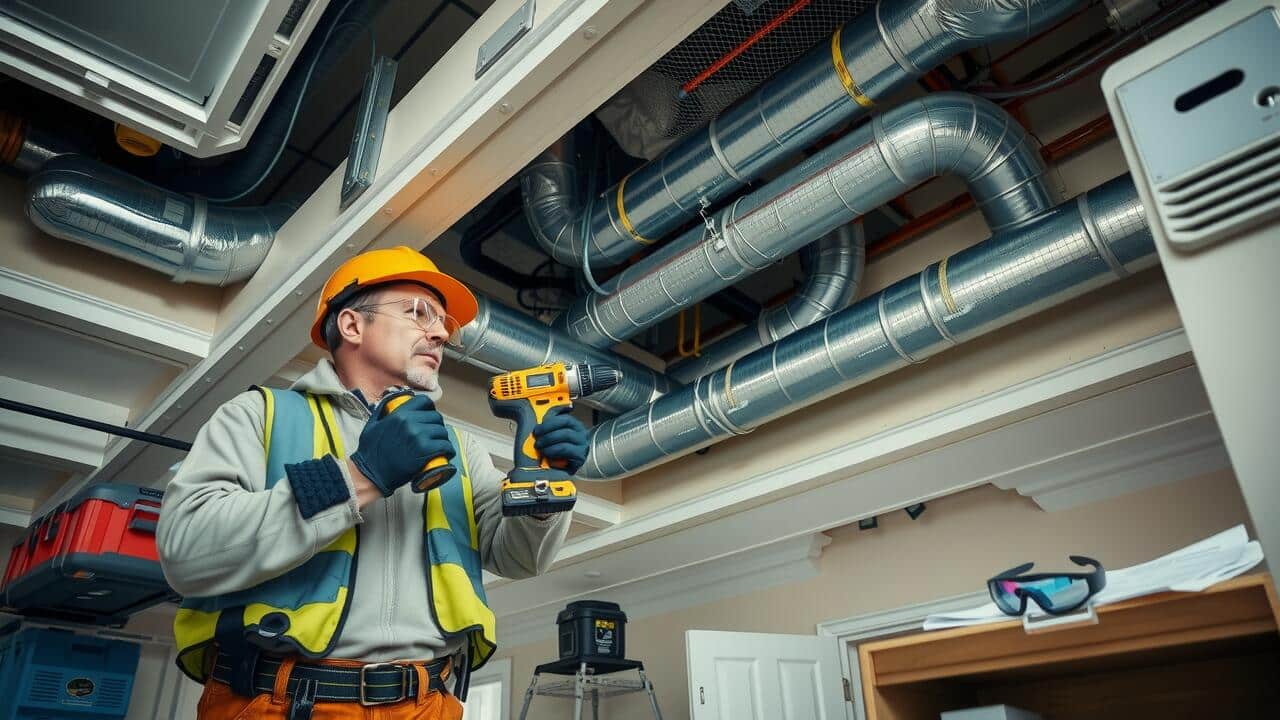
Next, gather all necessary tools and materials before starting the installation. You will need duct sections, connectors, insulation, and sealing tape. Begin by cutting the duct sections to the appropriate lengths based on your layout diagram. Assemble the sections using connectors, securing them tightly to avoid any gaps that may hinder airflow. As you progress, maintain attention to detail to guarantee a snug fit and proper alignment throughout the air duct installation process.
Installing Ducts
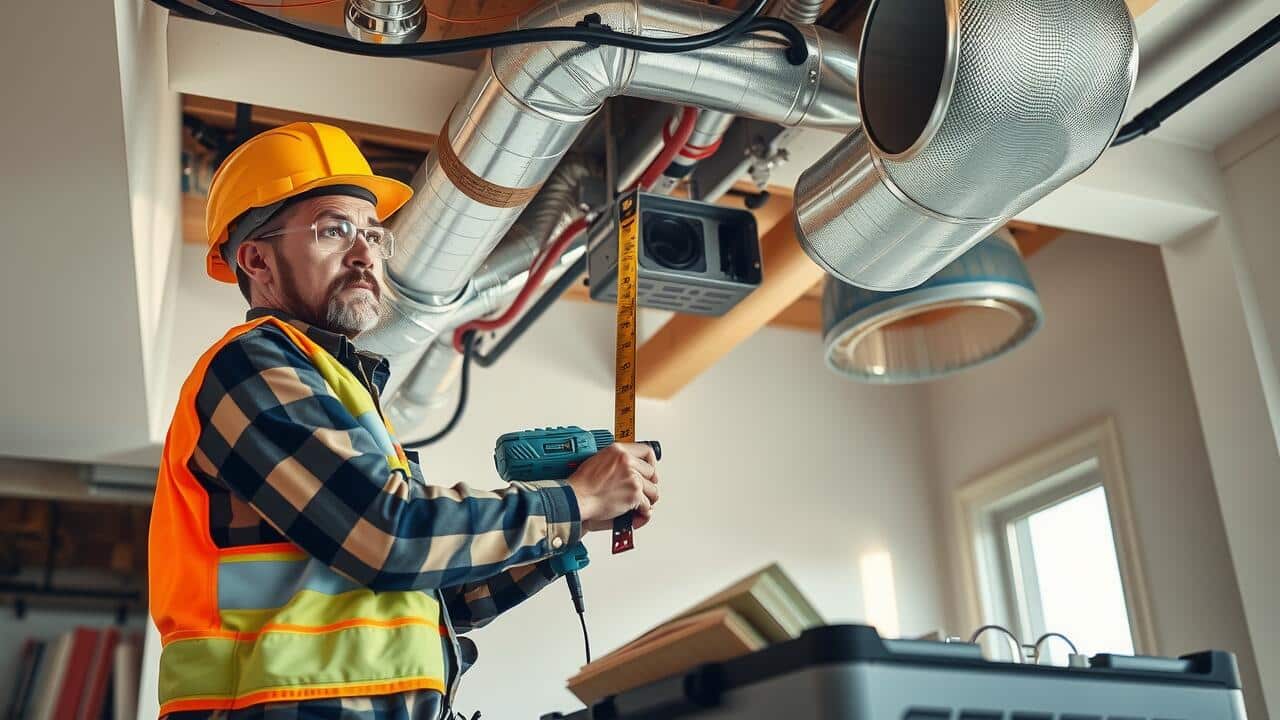
Air duct installation requires careful planning and precise execution. Start by measuring the dimensions of your space to determine the correct duct size. Utilize a flexible tape measure to get accurate readings, taking note of obstacles like joists and beams that may affect the layout. Create a comprehensive duct plan that adheres to the design of your heating and cooling system. Considering the airflow efficiency is crucial. Each duct run should be as straight as possible with minimal bends to maximize performance.
Next, gather the necessary materials, such as ductwork, connectors, and insulation. Use high-quality materials to ensure durability and efficiency. When securing the ducts, employ appropriate tools to fasten them firmly to avoid any disconnections in the future. Remember to account for insulation to prevent energy loss. Check for compatibility with existing systems to facilitate a proper fit. Accuracy in installation leads to optimal system performance, enhancing overall comfort in your space.
Common Mistakes to Avoid
One common mistake in air duct installation is neglecting to plan the layout carefully before beginning the project. A well-thought-out design ensures proper airflow and avoids bottlenecks that can lead to inefficiency. Measurements should be taken accurately to account for the space where ducts will be placed. Failing to consider existing structural elements can result in extra work and increased costs.
Another pitfall is overlooking the importance of securing joints and connections properly. Air leaks can significantly reduce the system’s efficiency, leading to increased energy costs. It’s essential to use high-quality materials and sealants to ensure that all joints are airtight. Proper sealing not only enhances energy efficiency but also contributes to maintaining a consistent temperature throughout the home.
Pitfalls in DIY Duct Installation
One common pitfall in DIY air duct installation lies in the measurement process. Accuracy is crucial when cutting and fitting ducts. Miscalculations can lead to misaligned sections or excessive gaps, which may cause airflow issues and reduce overall efficiency. It’s essential to double-check all measurements before making any cuts. This will help ensure that each piece fits snugly into place.
Another frequent mistake involves the choice of materials. Many DIYers might opt for flexible ducting without considering the implications. While flexible ducts can be easier to install, they are susceptible to kinks and bends that restrict airflow. Additionally, using improper sealing materials can lead to leaks over time. Understanding the best materials and methods for air duct installation can significantly affect the system’s performance and longevity.
Ensuring Proper Sealing and Insulation
Proper sealing and insulation are crucial components of effective air duct installation. Unsealed or poorly insulated ducts can lead to significant energy losses, resulting in higher utility bills and reduced system efficiency. To achieve optimal sealing, consider using mastic sealant or aluminum foil tape to secure joints and seams. These materials provide a durable barrier against air leaks, ensuring that conditioned air reaches its intended spaces without unnecessary loss.
Insulation is equally important in maintaining desired temperatures within the ducts. When installing air ducts, it is essential to wrap them with material designed to prevent heat transfer, such as fiberglass or foam insulation. This minimizes the chances of energy being wasted as air travels through unconditioned areas. Properly insulated ducts can enhance the comfort level inside a home and contribute to the overall lifespan of the HVAC system.
Techniques for Air Leak Prevention
Ensuring proper sealing and insulation during air duct installation is crucial to minimize energy loss. Using high-quality duct sealant or mastic is essential to secure all joints and connections. Duct tape may be tempting, but it is not as effective over time due to wear and tear. Focus on sealing seams and any gaps where ducts connect to registers or the HVAC unit to maintain system efficiency.
Insulation plays a vital role in preventing air leaks as well. Insulating ducts that run through unconditioned spaces can help reduce the impact of temperature fluctuations. Make sure to use the correct insulation material rated for ductwork, ensuring that it fits snugly around the ducts. Regular inspections can help identify any struggling areas where leaks might occur, allowing for timely repairs and adjustments.
FAQS
Is it recommended for a homeowner to install their own air ducts?
While it is possible for a homeowner to install their own air ducts, it is generally recommended to hire a professional to ensure proper installation, efficiency, and compliance with local building codes.
What tools do I need to install air ducts myself?
Common tools needed for installing air ducts include a measuring tape, tin snips, a drill, a screwdriver, duct tape, and a level. Depending on your specific installation, you might also need additional tools.
What are the common mistakes to avoid when installing air ducts?
Common mistakes include poor measuring, inadequate sealing, incorrect duct sizing, and failing to account for airflow paths. These can lead to inefficient heating and cooling and increased energy costs.
How can I ensure proper sealing and insulation of my air ducts?
Proper sealing can be ensured by using high-quality duct tape or mastic sealant, while insulation can be achieved by wrapping ducts with insulation material. It’s important to check for any gaps or leaks during installation.
Will installing my own air ducts void my HVAC warranty?
Many HVAC manufacturers require professional installation for warranties to remain valid. It’s essential to check the warranty terms before attempting any DIY duct installation.